Photo Quality AI Guide the Improvement, Then Verify Every Detail
Upload a reference image and describe the quality problem you want to address. The AI creates a revised image that may look cleaner or sharper, but it can also reinterpret small details.
Not sure where to start? Review Quality Issues then describe only the change your image needs.
Improve photo quality in three controlled steps
Describe the defect, generate a revised image, and compare critical details with the source.
Identify the visible problem
Decide whether the main issue is softness, noise, compression, poor lighting, weak contrast, or missing detail.
Upload and direct the revision
Use the photo as a reference and write a narrow prompt that says what to improve and what must remain recognizable.
Compare before using
Inspect faces, text, logos, patterns, edges, and color. Retry with a narrower instruction if the AI changes important content.
Match the prompt to the image defect
These references illustrate common quality tasks, not verified before-and-after benchmarks. The output is a generated interpretation and can invent detail.
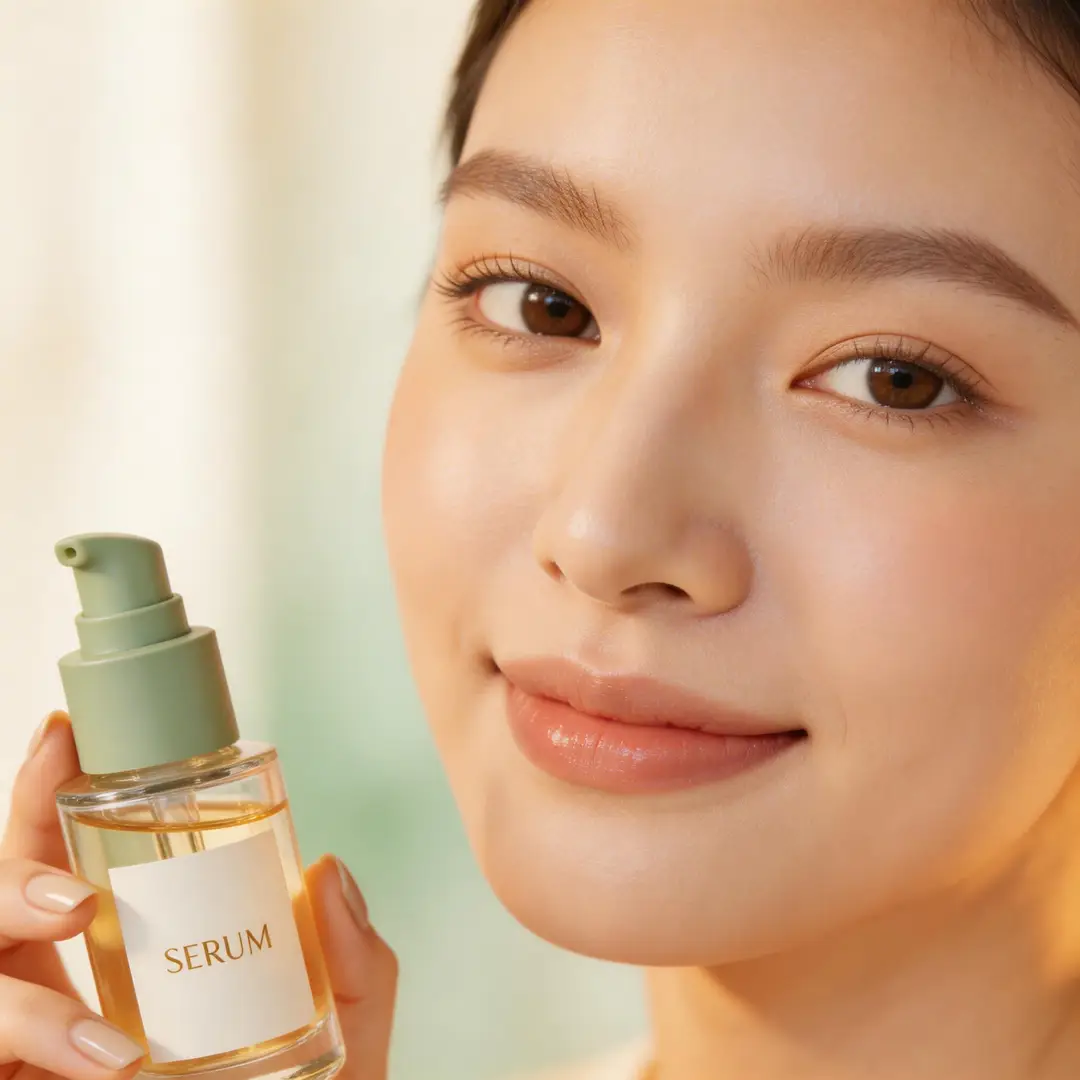
Soft portraits
Ask for clearer facial features and balanced skin detail without changing the person's identity or expression.
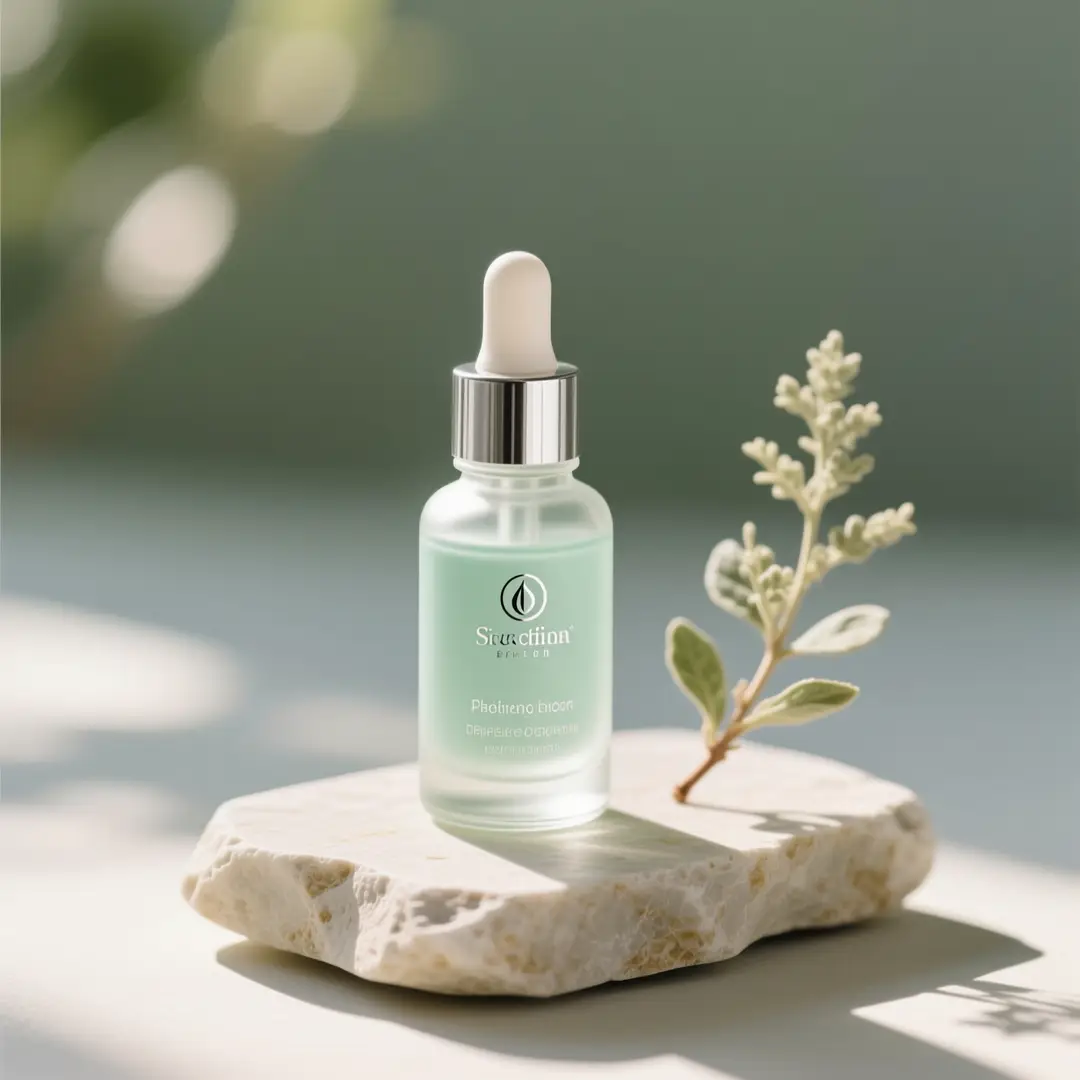
Noisy product stills
Direct the AI to reduce visible grain or compression while preserving packaging shape and material cues.
Poor lighting and color
Describe the exposure, white balance, or contrast adjustment instead of asking for a vague total makeover.

Small or low-detail images
A generative model may create plausible-looking detail, but that detail was not necessarily present in the source.
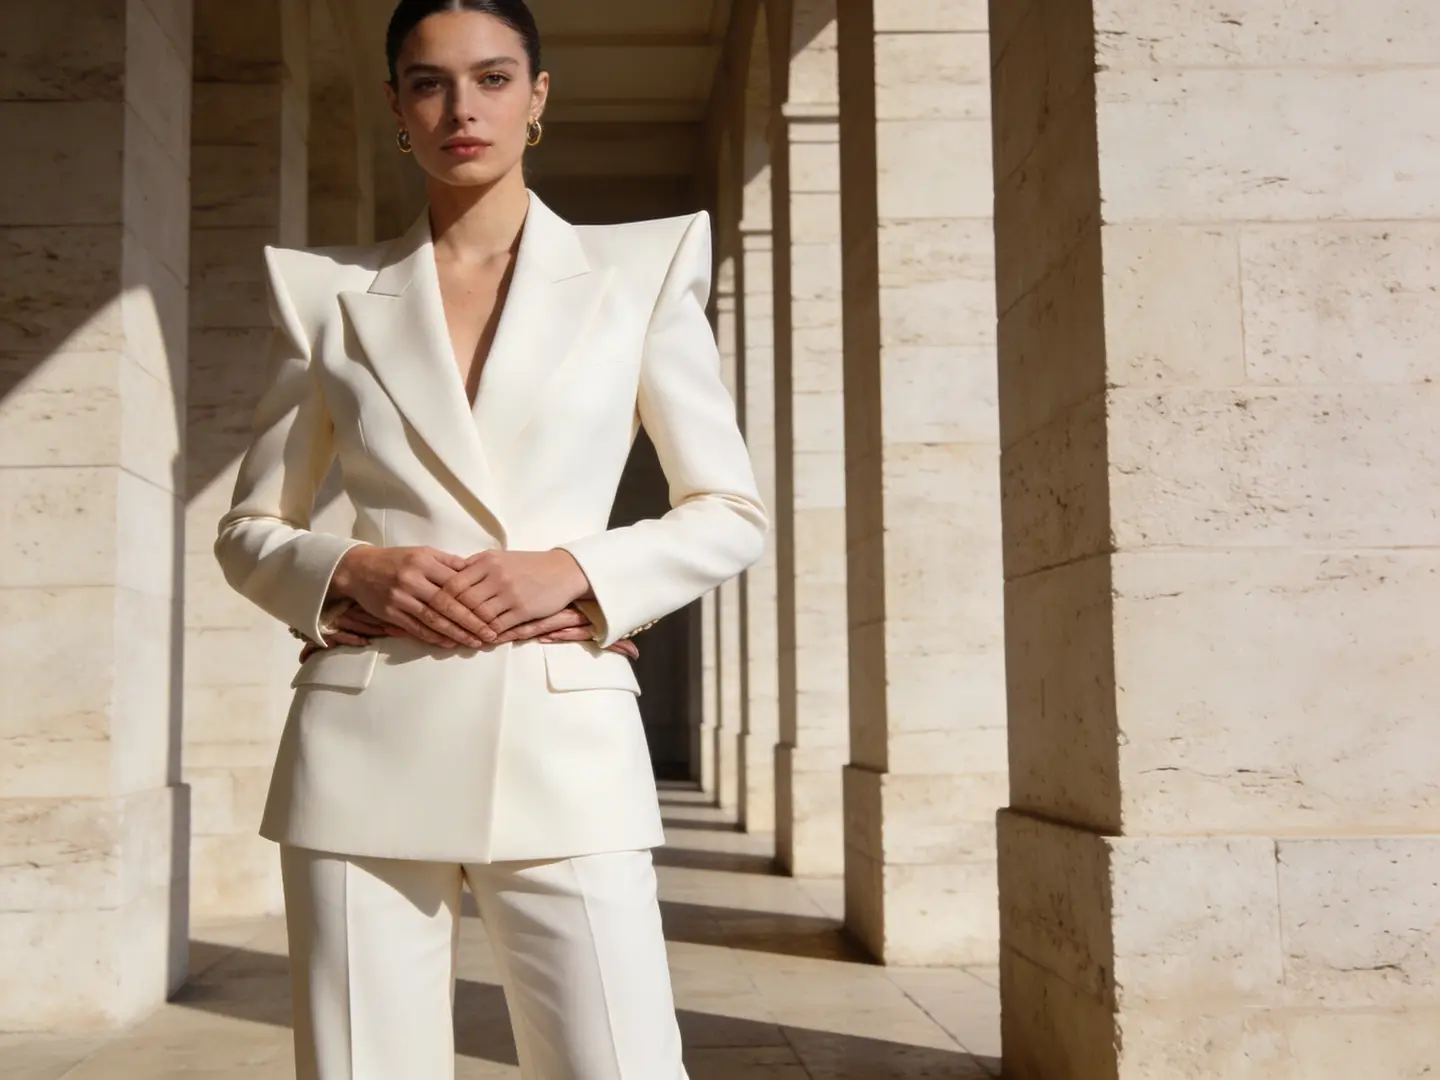
Where a guided revision can help
Use the result as an editable visual candidate, not as unquestioned evidence of the original scene.
Product listing drafts
Create a cleaner visual candidate from a noisy or poorly lit product still, then verify the item and label details.
Social content
Revise compressed or soft images before placing them into a post, thumbnail, or campaign layout.
Presentation images
Improve the readability and visual balance of reference photos used in slides or concept documents.
Creative restoration concepts
Explore a plausible cleaner version of an old photo while keeping the original as the authoritative record.
When Photo Quality AI is useful—and when it is not
The right tool depends on whether you need a creative revision or exact pixel fidelity.
Use it for visual improvement
It can help when you want a cleaner-looking candidate and can review the output against the source.
Use a narrow prompt
One defined issue such as noise or lighting gives the model less room to rewrite unrelated content.
Do not assume exact restoration
Missing texture, text, and facial detail may be invented rather than recovered from the source file.
Use deterministic tools for evidence
If exact pixels, measurements, legal records, or archival fidelity matter, use a dedicated non-generative workflow.
Check the details the AI can rewrite
A sharper-looking image can still be factually wrong.
Faces and identity
Compare facial shape, eyes, teeth, age cues, skin details, and expression with the original.
Text and logos
Generated lettering is unreliable. Replace critical text from an authoritative source after the image revision.
Products and patterns
Check buttons, seams, packaging, repeating patterns, reflections, and small components for invented changes.
Color and exposure
Confirm that brand colors, skin tones, materials, and shadow direction still fit the intended use.
Review the generation choice before spending credits
The image form shows the models and settings currently available and the estimated credit requirement.
Attach the reference
Use your source image with a prompt that names the defect and the details you want to protect.
Choose an available model
Model behavior and output options vary, so use the live form as the authority for the current choices.
Read the credit estimate
Confirm the displayed credit requirement before submitting the revision.
Retry deliberately
If the first result changes important content, narrow the prompt or select another available option instead of repeating blindly.
Finish the photo quality workflow with evidence
Use the generated image as a candidate, then verify it against the source and the needs of the final channel.
Compare at useful zoom levels
Review the full composition and close details such as faces, lettering, edges, patterns, and product features.
Keep the untouched original
Preserve the source file so you can distinguish documented content from details introduced by the generative revision.
Finish exact edits separately
Use deterministic editing tools for precise crops, dimensions, text replacement, masks, and color values.
Document the successful prompt
Save the defect, preservation constraints, and model choice that produced an acceptable result before processing similar images.
Questions about AI photo quality improvement
Generative revision, detail accuracy, prompts, models, credits, and appropriate use.
What is Photo Quality AI?
Is this an exact photo upscaler?
Can it sharpen a blurry image?
Can it reduce visible noise and compression?
Can I improve a product photo?
Will text and logos remain exact?
What should my prompt include?
How much does a revision cost?
Can I use the result as historical evidence?
What if the result changes an important detail?
Need help with a generation or credit issue? Contact support.
Create a controlled photo revision
Attach the source, describe one quality issue, review the estimated credits, and verify the revised image before using it.